Captions aren't optional any more. Most social video is watched with the sound off, and captioned videos keep viewers watching longer. Premiere Pro gives you a few ways to add them, and the right one depends on what you're making.
Which method should you use?
| Speech to Text | Import SRT | Caption Bunny plugin | |
|---|---|---|---|
| Cost | Free with Premiere | Free | $29 once |
| Automatic transcription | |||
| Animated word-by-word styles | |||
| Ready-made viral styles | 19 styles | ||
| Hinglish in Roman letters | Only if your file has it | ||
| Works offline | |||
| Best for | YouTube subtitles, accessibility | Client-supplied captions | Reels, Shorts, TikTok, podcasts |
Method 1: Premiere Pro's built-in Speech to Text
Since 2021 Premiere has its own transcription engine. It's free, runs on your computer, and makes standard subtitle captions.
- 1
Open the Text panel
Go to Window → Text and open the Transcript tab.
- 2
Transcribe the sequence
Click Transcribe, choose the language and which audio track to use, then wait. A 10-minute video usually takes a minute or two.
- 3
Create captions
Click Create captions. Pick a preset, maximum characters per line, minimum duration and lines (single or double).
- 4
Fix and style
Correct wrong words in the Captions tab, then style the track in Essential Graphics: font, size, background and position.
Pros
- Free and built in
- Good accuracy for clear English
- Exports as SRT for YouTube
Cons
- No animated or word-by-word styles
- Every caption looks the same
- Hinglish comes out in Devanagari or garbled
Set the maximum line length to about 32 characters for 9:16 video. Long caption lines are hard to read on a phone.
Method 2: Import an SRT subtitle file
If a client, a transcription service or YouTube already gave you a caption file, importing it is the fastest route.
- 1
Import the file
File → Import (or Cmd/Ctrl + I) and pick the
.srtor.vttfile. - 2
Drop it on the timeline
Drag it from the Project panel onto the sequence. Premiere creates a caption track above your video.
- 3
Restyle
Select all captions and style them in Essential Graphics, just like in Method 1.
Caption Bunny can open SRT, VTT and JSON transcripts too, so you can turn an existing subtitle file into animated captions without transcribing again.
Method 3: Animated auto captions with a plugin
The captions you see on viral Reels, such as words highlighting as they're spoken, bold yellow keywords and emojis popping in, are animated graphics, not plain subtitles. Making them by hand means one text layer and several keyframes per word. A caption extension automates it. Here's the whole process in Caption Bunny.
Step 1: Transcribe
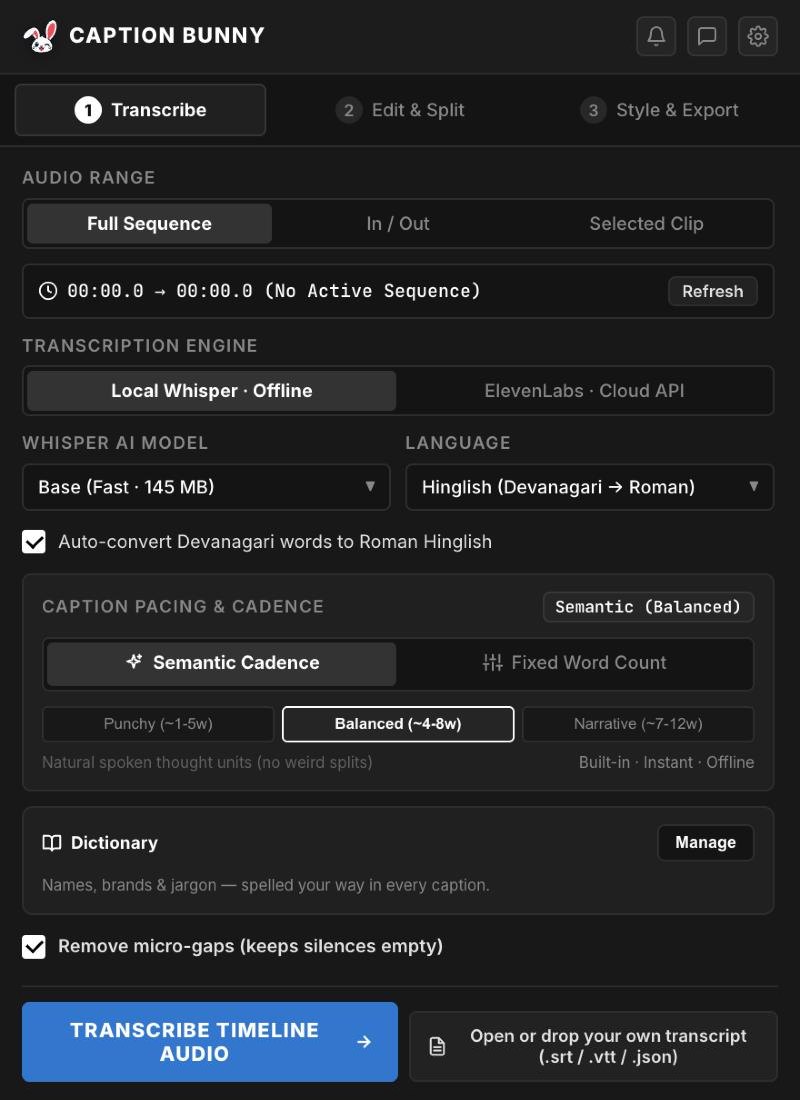
Transcribe the timeline
Open Window → Extensions → Caption Bunny. Choose the full sequence, your In/Out range or a selected clip, then the language, and click Transcribe Timeline Audio.
- Local Whisper runs offline on your Mac or PC
- 99+ languages, including Hinglish to Roman
- Semantic pacing splits captions at natural pauses
Step 2: Edit and split
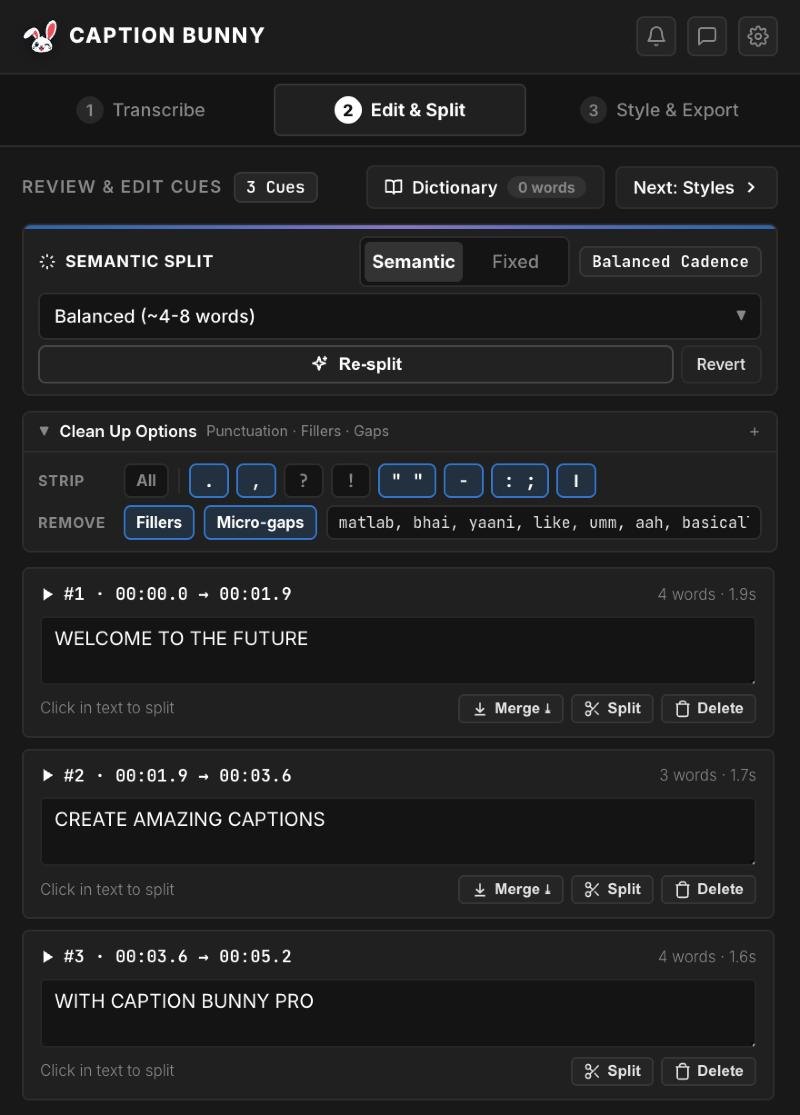
Review every caption
Each caption shows its timing and word count. Fix a word, click inside the text to split a line, merge short ones, or strip punctuation and filler words (um, like, matlab, basically) in one click.
- Dictionary keeps brand names spelled right
- Re-split by Punchy, Balanced or Narrative pacing
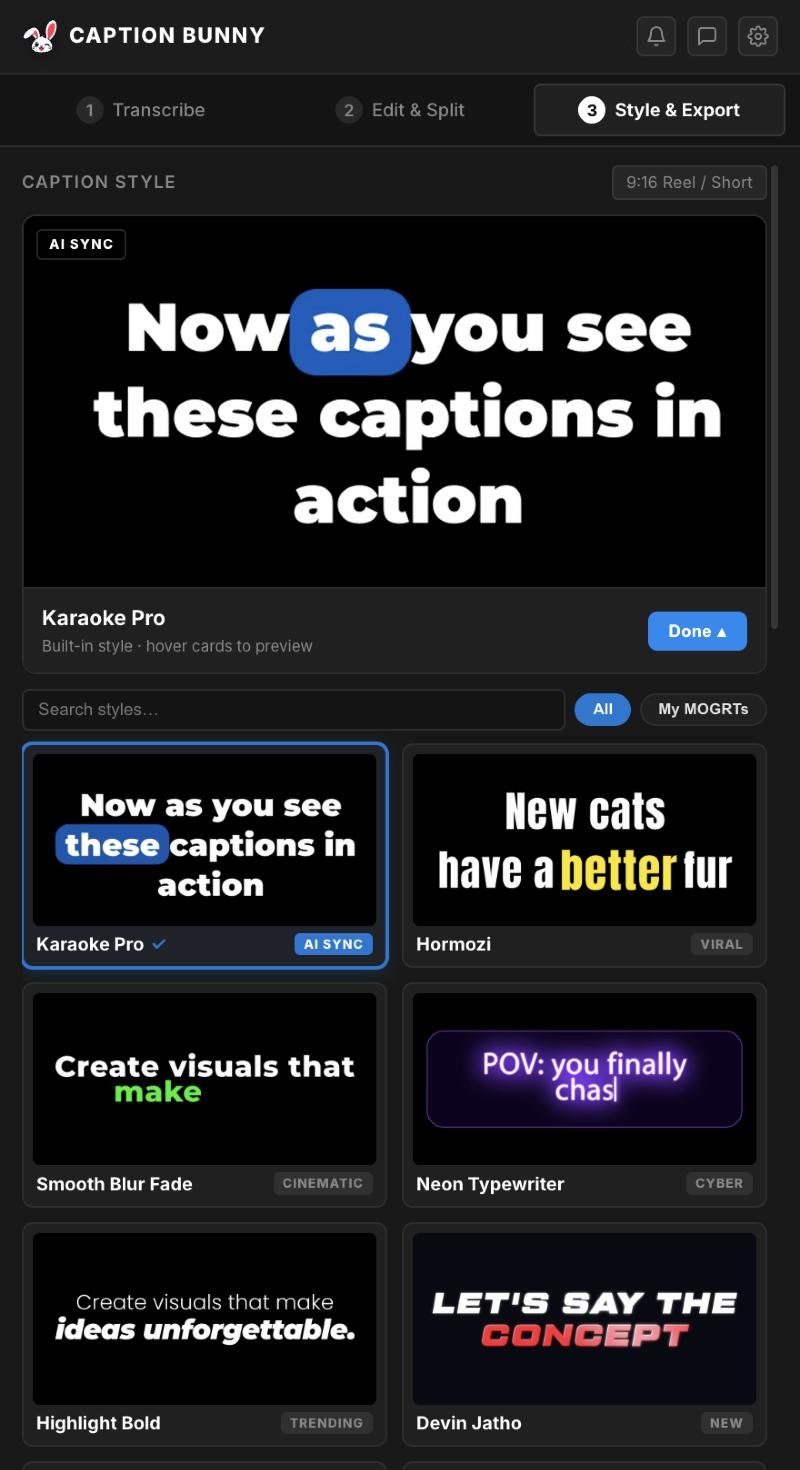
Step 3: Pick a style and place it
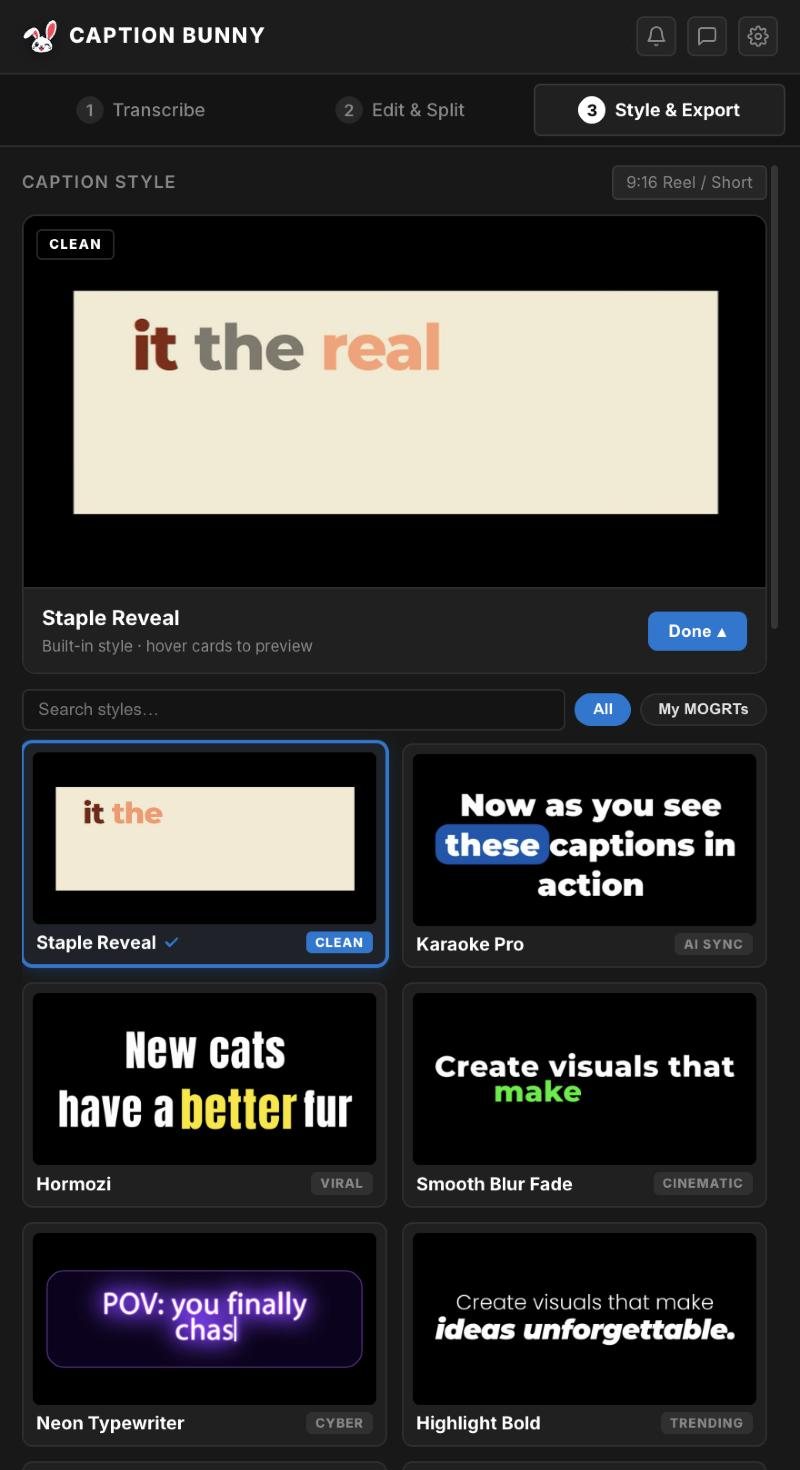
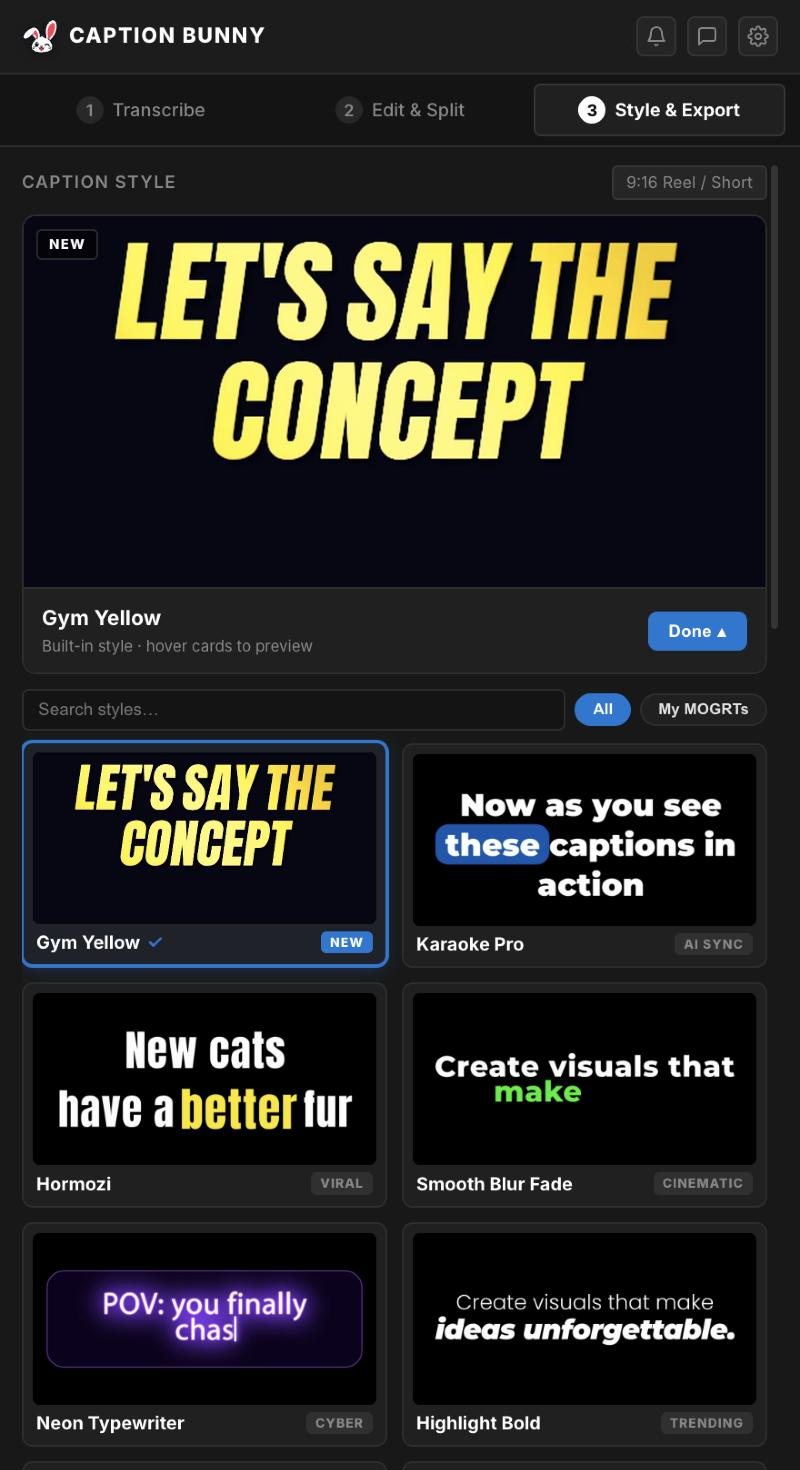
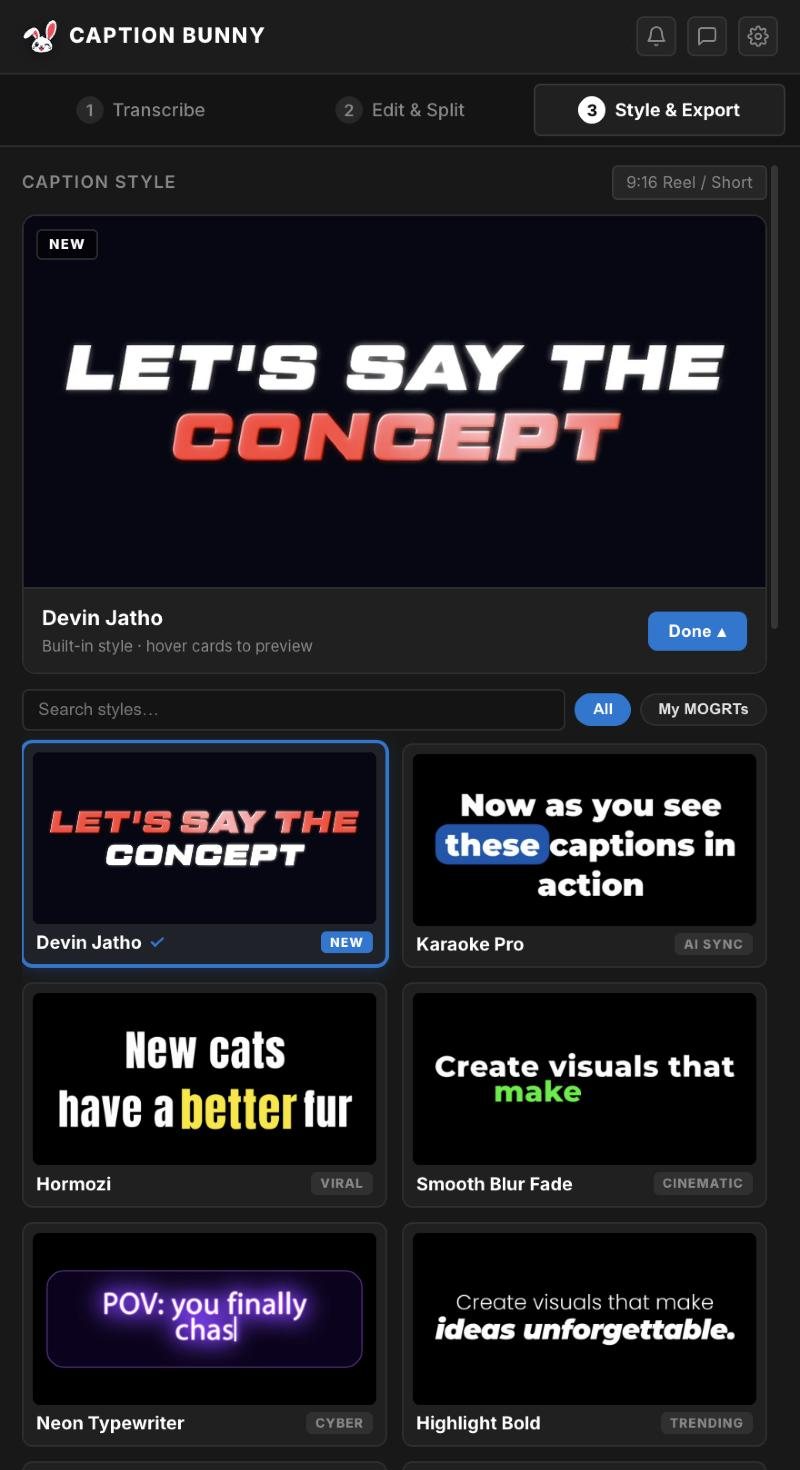
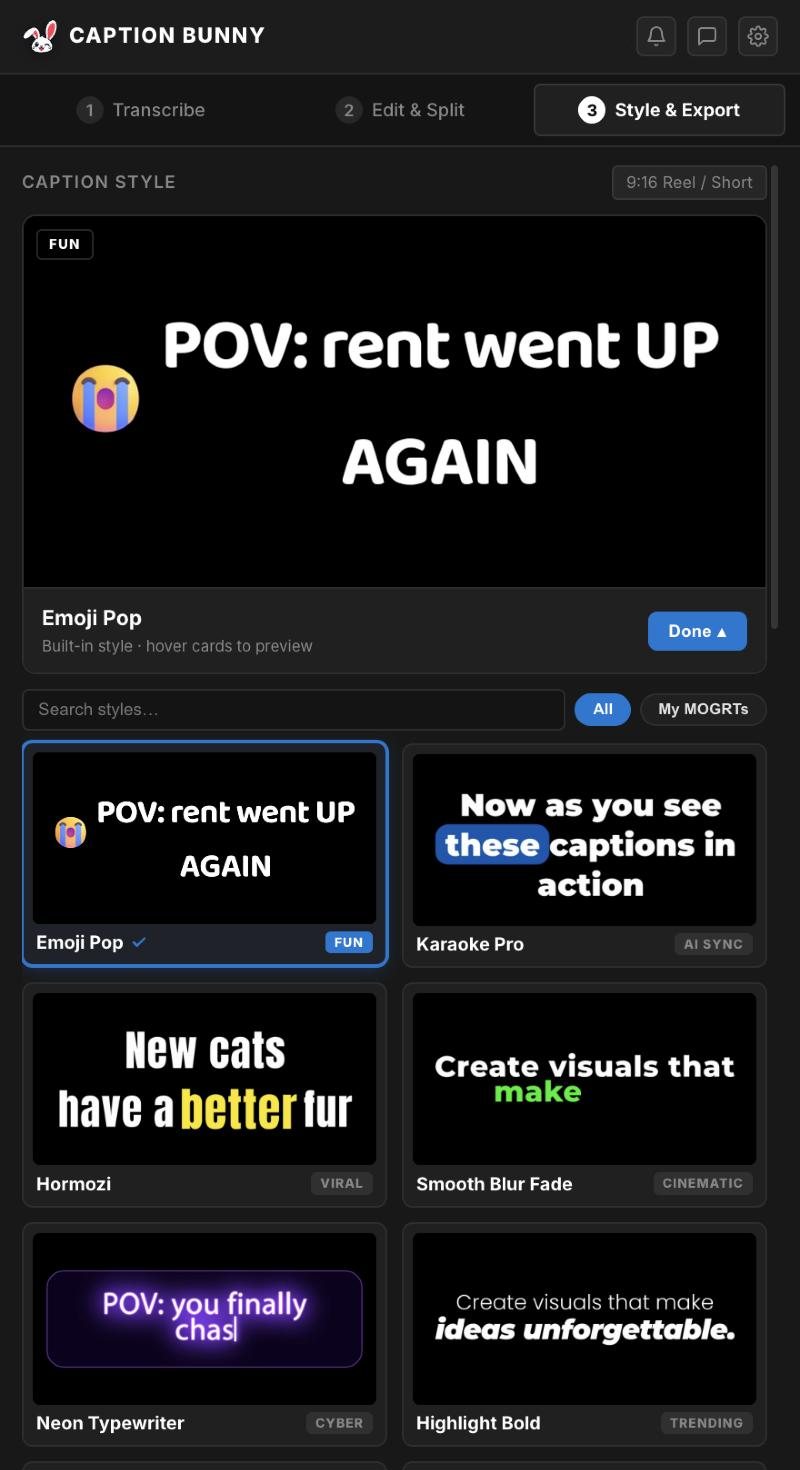
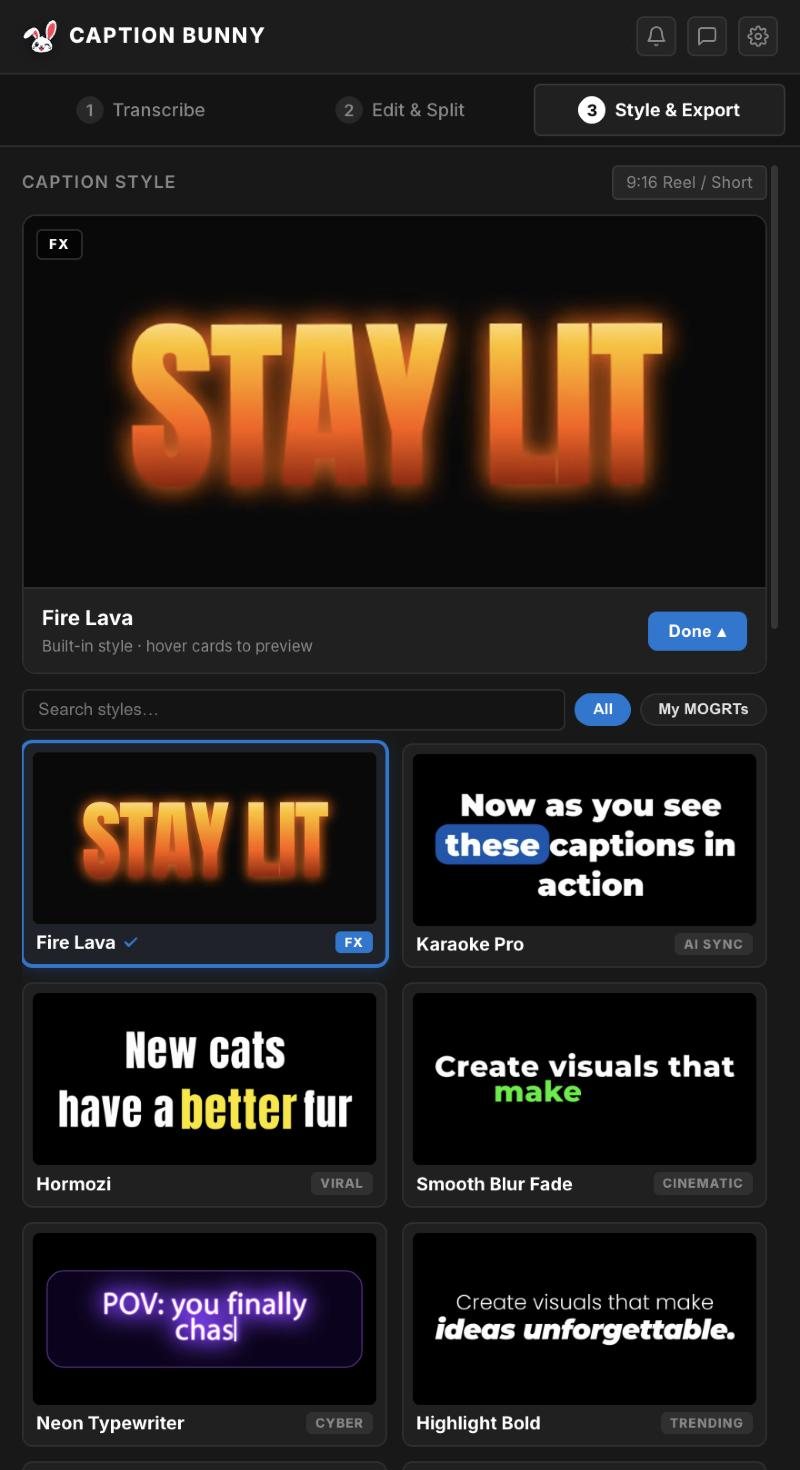
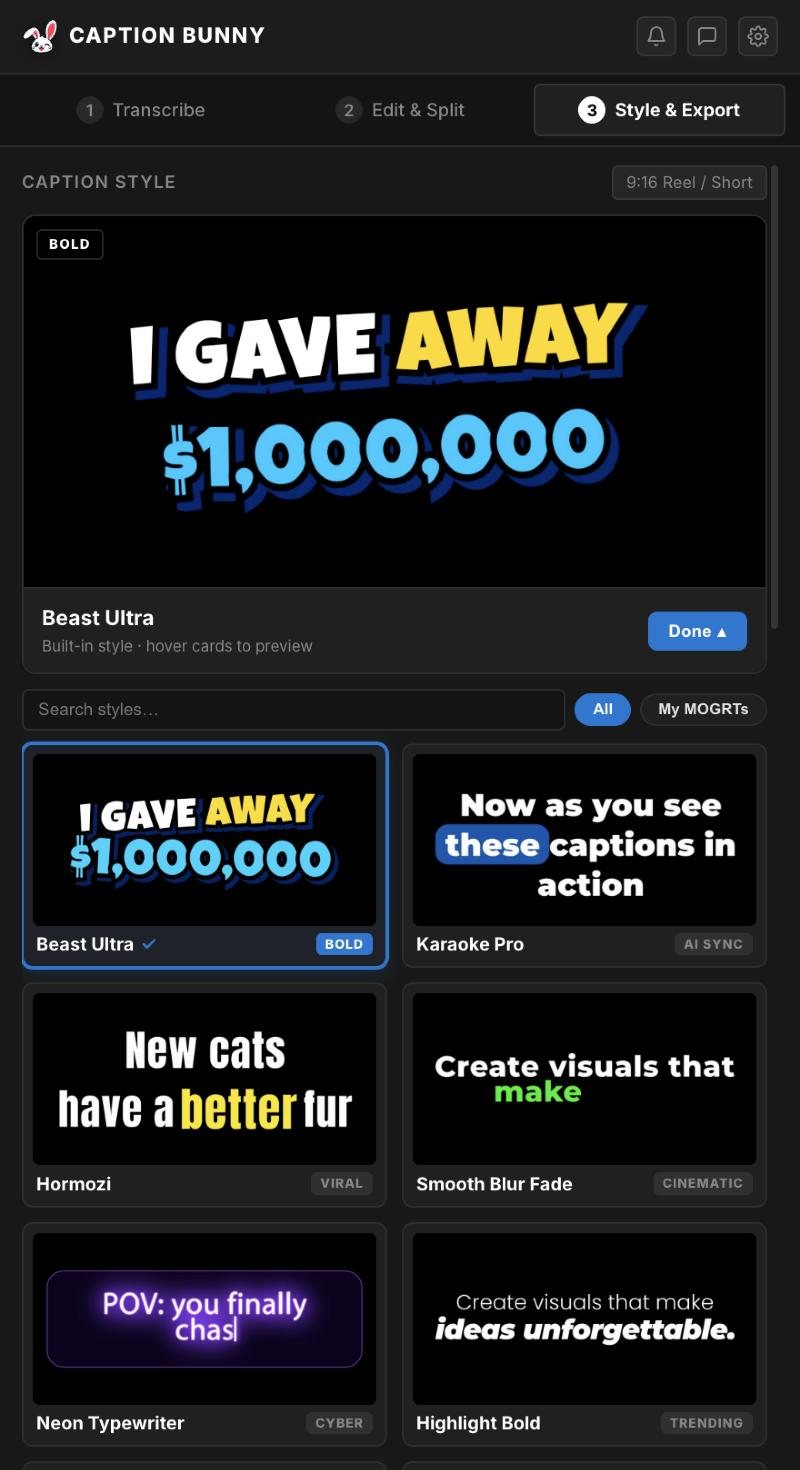
Choose from 19 animated styles
Hover a card to preview it, pick one and click Generate. Every caption lands on your timeline as an editable Motion Graphics Template, synced word by word to the speech.
- 9:16, 1:1 or 16:9 picked from your sequence
- Change font, colours and size in Essential Graphics
- Swap the style of placed captions later in one click
A few of the 19 caption styles, rendered straight out of Premiere Pro.
Try animated captions on your next edit
Caption Bunny works in Premiere Pro on Mac and Windows. $29 once, no subscription.
Caption best practices for social video
- Keep it short: 2 to 6 words per caption on vertical video. Viewers read in glances.
- Stay in the safe zone: keep captions out of the bottom 20% of a 9:16 frame, where Instagram and TikTok put their buttons and descriptions.
- Highlight one keyword per line. Colour draws the eye to the word that matters.
- Match the energy: punchy pop-ins for hype content, soft fades for storytelling, karaoke for podcasts.
- Proofread names: AI gets common words right. Brand and people's names need a dictionary or a quick check.
Frequently asked questions
How do I auto-generate captions in Premiere Pro?+
Open Window > Text, click Transcribe in the Transcript tab, then Create captions. For animated captions, use a plugin such as Caption Bunny, which transcribes and places styled captions in one click.
Can Premiere Pro make animated word-by-word captions?+
Not on its own. Premiere's built-in captions are static. Animated word-by-word captions need Motion Graphics Templates (MOGRTs), which caption plugins like Caption Bunny place automatically.
How do I add Hindi subtitles in Premiere Pro?+
Premiere's Speech to Text supports Hindi in Devanagari. For Hinglish in Roman letters, Caption Bunny transcribes mixed Hindi-English speech offline.
Is there a free way to add captions in Premiere Pro?+
Yes. The built-in Speech to Text is included with Premiere Pro. Paid plugins add animated styles, more languages and faster workflows.
Can I export captions as an SRT file?+
Yes. Premiere exports caption tracks as SRT from the Captions panel, and Caption Bunny can also write a native caption track or SRT for YouTube.

We're video editors who build caption tools for Premiere Pro. Every step in our guides is tested on a real timeline before we publish it.